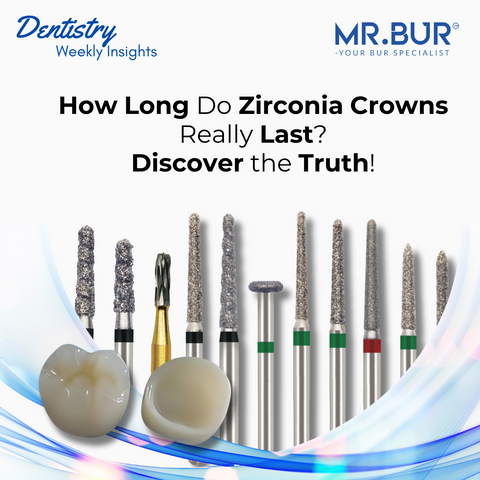
Zirconia crowns have become one of the most popular choices for dental restorations, thanks to their remarkable durability, aesthetics, and biocompatibility. As dental professionals, providing patients with the best possible care involves understanding the intricacies of these restorations, from preparation to placement and, when necessary, removal. This article offers a comprehensive guide to the zirconia crown process, highlighting the essential steps, the specific dental burs required, and best practices to ensure optimal outcomes for your patients.
The Zirconia Crown Preparation Process
The preparation process for zirconia crowns is critical to the success of the restoration. Achieving a perfect fit and long-lasting result requires precision at every stage, from initial tooth reduction to final margin refinement. Here’s a detailed breakdown of each step involved in preparing a tooth for a zirconia crown.
Step 1: Tooth Assessment and Initial Preparation
Initial Examination:
Before beginning the preparation, a thorough examination of the tooth is essential. This includes assessing the amount of reduction needed, the condition of the existing tooth structure, and any potential complications that may arise during the preparation.
Super Coarse Reduction:
The first step in preparing the tooth for a zirconia crown is bulk reduction, which involves removing a significant portion of the tooth structure to create space for the crown. For this purpose, the following burs from the Crown & Bridge Preparation Kit FG by Mr. Bur are ideal:
- SC36 (Super Coarse FG Taper Round Burs): This bur is used for initial bulk reduction, quickly removing large amounts of tooth structure.
- 36Z (Super Coarse Twister FG Taper Round Burs): The twister design of this bur enhances cutting efficiency, making it perfect for rapid reduction while maintaining control.
- 62B (Coarse FG Torpedo): This bur is useful for refining the deeper areas of the preparation, ensuring that the tooth structure is reduced evenly.
Technique:
Using these burs, the dentist should focus on creating an overall shape that allows sufficient space for the zirconia crown. The reduction should be uniform, with attention to maintaining the tooth's natural contours and occlusal clearance.
Step 2: Refining the Preparation and Margin Design
After the initial reduction, the next step is to refine the preparation, focusing on the margins and ensuring the tooth is shaped for an optimal crown fit.
Chamfer and Marginal Refinement:
Creating precise chamfer or shoulder margins is crucial for the successful placement of a zirconia crown. The following burs are recommended for this process:
- 34A (Coarse Chamfer FG Taper Round Burs): Ideal for creating clear, well-defined chamfer margins.
- 77 (Coarse Chamfer FG Taper Round Burs): This bur is used to enhance the chamfer, ensuring it is smooth and even.
- 36F (Fine Grit FG Taper Round Burs): For final refinement of the margins, this bur ensures smoothness and precision, which are essential for a snug crown fit.
- 52 (Coarse FG Pointed Cone): This bur is perfect for fine-tuning the preparation, particularly in interproximal areas that are harder to access.
Technique:
Careful attention should be paid to shaping the tooth so that the crown can sit properly on the prepared tooth. The dentist must ensure that the margins are smooth and even, as any imperfections can lead to issues such as marginal gaps or poor crown retention.
Step 3: Occlusal Surface and Final Adjustments
The final step in the preparation process involves refining the occlusal surface and making any necessary adjustments to ensure proper occlusion.
Occlusal Refinement:
Achieving the correct occlusal balance is essential for the longevity and comfort of the zirconia crown. The following burs are recommended:
- 39C (Coarse FG Occlusal Surface Peaches): This bur is excellent for final adjustments to the occlusal surface, ensuring proper contact points.
- 133 (Coarse FG Occlusal Surface Donut): Used for refining the occlusal anatomy, particularly in complex cases where detailed occlusal adjustments are necessary.
- 44 (Coarse FG Flame Cylinder): Ideal for smoothing and finalizing the occlusal surface, ensuring that the crown fits seamlessly with the opposing dentition.
Technique:
The dentist should ensure that the occlusal contacts are well-balanced and that the crown preparation meets all necessary anatomical requirements. Proper occlusal adjustment helps prevent premature wear or discomfort after the crown is placed.
Removal of Zirconia Crowns
Although zirconia crowns are highly durable, there are instances where removal becomes necessary, such as damage, decay beneath the crown, or a poor initial fit. Removing a zirconia crown requires specialized tools and techniques to ensure the underlying tooth structure is preserved.
When Crown Removal is Necessary
Common scenarios that necessitate zirconia crown removal include:
- Damage to the Crown: Fractures or significant wear that compromise the crown’s functionality or aesthetics after years or decades.
- Decay or Complications: Issues such as decay at the margins or poor initial placement that require the crown to be replaced.
- Poor Fit: Crowns that were not properly fitted initially may need to be removed and replaced to ensure patient comfort and oral health.
Step-by-Step Crown Removal Process
Initial Assessment:
Before removing the crown, the dentist must evaluate its condition and the health of the surrounding tissues. This assessment will inform the approach to removing the crown safely and efficiently.
Safe and Efficient Crown Sectioning:
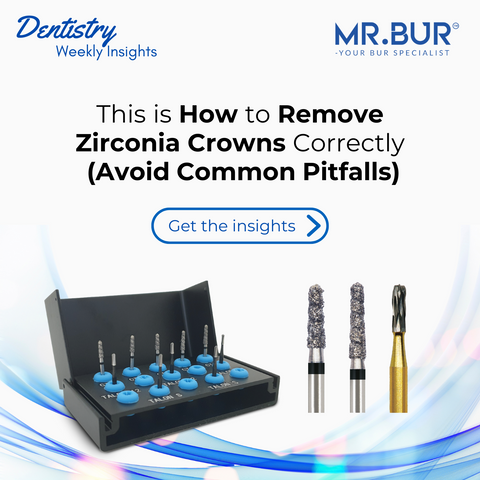
Removing a zirconia crown without damaging the underlying tooth requires precision and the right burs. The Crown Cutter Kit from Mr. Bur includes the following tools, specifically designed for zirconia crown removal:

- CT-1 (Hybrid Twister Super Coarse): This bur is ideal for the initial sectioning of the zirconia crown. Its twister design allows for efficient cutting through the hard zirconia material.
- CT-2 (Hybrid Twister Super Coarse): Used in conjunction with the CT-1, this bur allows for deeper cuts and more precise sectioning.
- 2158 (Transmetal Carbide): This specialized bur is designed to cut through the toughest materials while preserving the underlying tooth structure. It is perfect for the final sectioning needed to safely remove the crown.
Technique:
Using the burs in sequence, the dentist should carefully section the crown, focusing on preserving as much of the underlying tooth structure as possible. Proper sectioning minimizes the risk of damage and ensures that the removal process is smooth and controlled.
Post-Removal Care:
Once the crown is removed, the dentist must address any underlying issues with the tooth, such as decay or structural damage. If a new crown is to be placed, the tooth should be re-prepared using the appropriate burs from the Crown & Bridge Preparation Kit FG.
Key Takeaways
Zirconia crowns are an excellent investment in your patients’ smiles, offering a combination of strength, durability, and aesthetics that few other materials can match. However, the success of these restorations hinges on precision in every step of the process—from preparation to placement to removal. By utilizing high-quality tools like the Crown & Bridge Preparation Kit FG and the Crown Cutter Kit from Mr. Bur, dental professionals can ensure the best outcomes for their patients, providing crowns that not only look great but stand the test of time.
Investing in the right tools and techniques will help you deliver exceptional care, reinforcing the trust your patients place in your expertise and ensuring their satisfaction for years to come.
Get yours Now:
1. Crown & Bridge Preparation Kit FG
2. Crown Cutter Kit
Diamond Burs, Carbide Burs, Surgical & Lab Use Burs, Endodontic burs, IPR Kit, Crown Cutting Kit, Gingivectomy Kit, Root Planning Kit, Orthodontic Kit, Composite Polishers, High Speed Burs, Low Speed Burs


