Valplast and other flexible dentures require specialized polishing techniques to maintain their aesthetics, durability, and patient comfort. However, many dental professionals and lab technicians make avoidable mistakes that can lead to poor finishing, dull surfaces, and even material damage.
In this article, we’ll uncover 5 common Valplast polishing mistakes and how to avoid them using the right techniques and tools—like Mr. Bur's HP Valplast polisher and ceramic polisher—for a flawless, high-gloss finish.
1. Using Traditional Acrylic Polishers on Valplast
A common yet critical error is using pumice or standard acrylic polishers on Valplast. While effective for acrylic dentures, these materials are too abrasive for Valplast’s flexible structure, leading to surface scratches, excessive material loss, and a compromised finish.
For a precise, damage-free polish, use a specialized polisher designed specifically for flexible dentures, such as the Mr. Bur HP Valplast polisher. This polisher is engineered to preserve the integrity of Valplast while achieving a smooth, high-gloss finish without causing micro-damage.
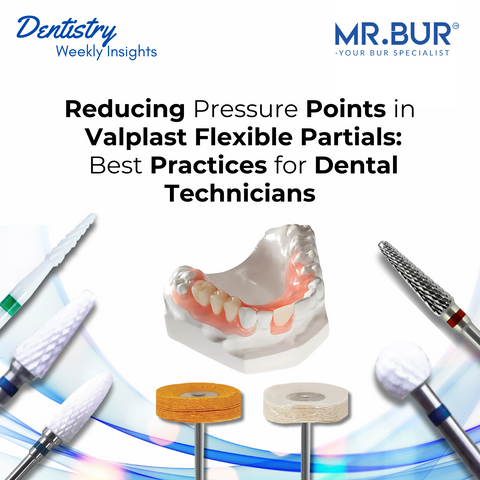
Mr. Bur HP Valplast polisher – designed to provide gentle yet effective polishing, ensuring a flawless surface without compromising material integrity.
2. Applying Too Much Pressure During Polishing
Excessive downward pressure during polishing generates heat, which can lead to softening, warping, or distortion of the Valplast appliance. This not only alters the fit but may also necessitate time-consuming remakes or adjustments.
To prevent distortion, apply light, controlled pressure while polishing. Use the Mr. Bur ceramic polisher, which is designed for precise pressure control and efficient material refinement. Employing a circular motion at moderate speeds ensures an even finish while preventing localized overheating.
Mr. Bur ceramic polisher – engineered for controlled, precision polishing to refine Valplast surfaces without compromising structural integrity.
3. Skipping the Pre-Polishing Stage
Many dental technicians rush directly to high-gloss polishing, skipping the essential pre-polishing process. This results in uneven textures and a lackluster finish, as residual surface imperfections remain untreated.
Achieving an optimal finish requires a two-step approach:
-
Pre-polishing with the Mr. Bur HP flexible denture polisher to eliminate micro-imperfections and create a uniform surface texture.
-
Final high-gloss polishing using a buffing wheel and Valplast-specific polishing compounds for a mirror-like shine.
Mr. Bur HP flexible denture polisher – optimizes surface refinement before final buffing, ensuring a consistent, smooth finish.
4. Using Too Much or the Wrong Polishing Compound
Using traditional polishing pastes designed for acrylic dentures or applying too much compound can lead to uneven buildup, material staining, and residual film accumulation. Additionally, some compounds contain abrasive particles that create micro-scratches, diminishing the overall esthetic result.
For optimal results, use a dry polishing compound specifically formulated for Valplast, applying it sparingly to avoid excessive buildup. Follow with a buffing wheel to achieve a uniform, glossy surface without residue accumulation.
Valplast Shine or Tripoli compound – designed for flexible denture materials, ensuring a smooth, high-gloss finish without excessive abrasion.
5. Skipping Ultrasonic and Steam Cleaning After Polishing
olishing can leave behind fine debris, compound residue, and micro-particles, which, if not removed, may cause a gritty texture and compromise patient comfort. Residual polish can also interfere with intraoral adaptation and create an unhygienic surface.
After completing the polishing process, always perform thorough cleaning:
✔️ Ultrasonic cleaning: Removes microparticles and polishing compound residue.
✔️ Steam cleaning: Ensures a pristine, high-gloss finish, eliminating residual debris.
✔️ Final inspection under proper lighting: Confirms complete removal of all polishing residues for a flawless restoration.
Polishing Valplast and flexible dentures requires the right tools and techniques to achieve a flawless, high-gloss finish. By avoiding common mistakes—such as using acrylic polishers, applying excessive pressure, skipping pre-polishing, overusing polishing compounds, and neglecting final cleaning—dental professionals can ensure optimal aesthetics and longevity. Using Mr. Bur's HP Valplast polisher, ceramic polisher, and HP flexible denture polisher guarantees precise, damage-free polishing for superior results.
Key Takeaways for Optimal Polishing:
-
Use a specialized Valplast polisher – Mr. Bur HP Valplast polisher for a damage-free, high-gloss finish.
-
Apply light, controlled pressure – Mr. Bur ceramic polisher prevents warping and distortion.
-
Follow a two-step process – Pre-polish with Mr. Bur HP flexible denture polisher before final buffing.
-
Use the correct polishing compound – Opt for Valplast Shine or Tripoli compound for optimal results.
-
Complete the process with ultrasonic and steam cleaning to ensure a smooth, debris-free surface.
By incorporating these best practices and utilizing Mr. Bur’s specialized polisher, dental professionals can enhance their workflow efficiency, minimize chairside adjustments, and deliver superior, esthetic restorations to their patients.
Diamond Burs, Carbide Burs, Surgical & Lab Use Burs, Endodontic burs, IPR Kit, Crown Cutting Kit, Gingivectomy Kit, Root Planning Kit, Orthodontic Kit, Composite Polishers, High Speed Burs, Low Speed Burs


